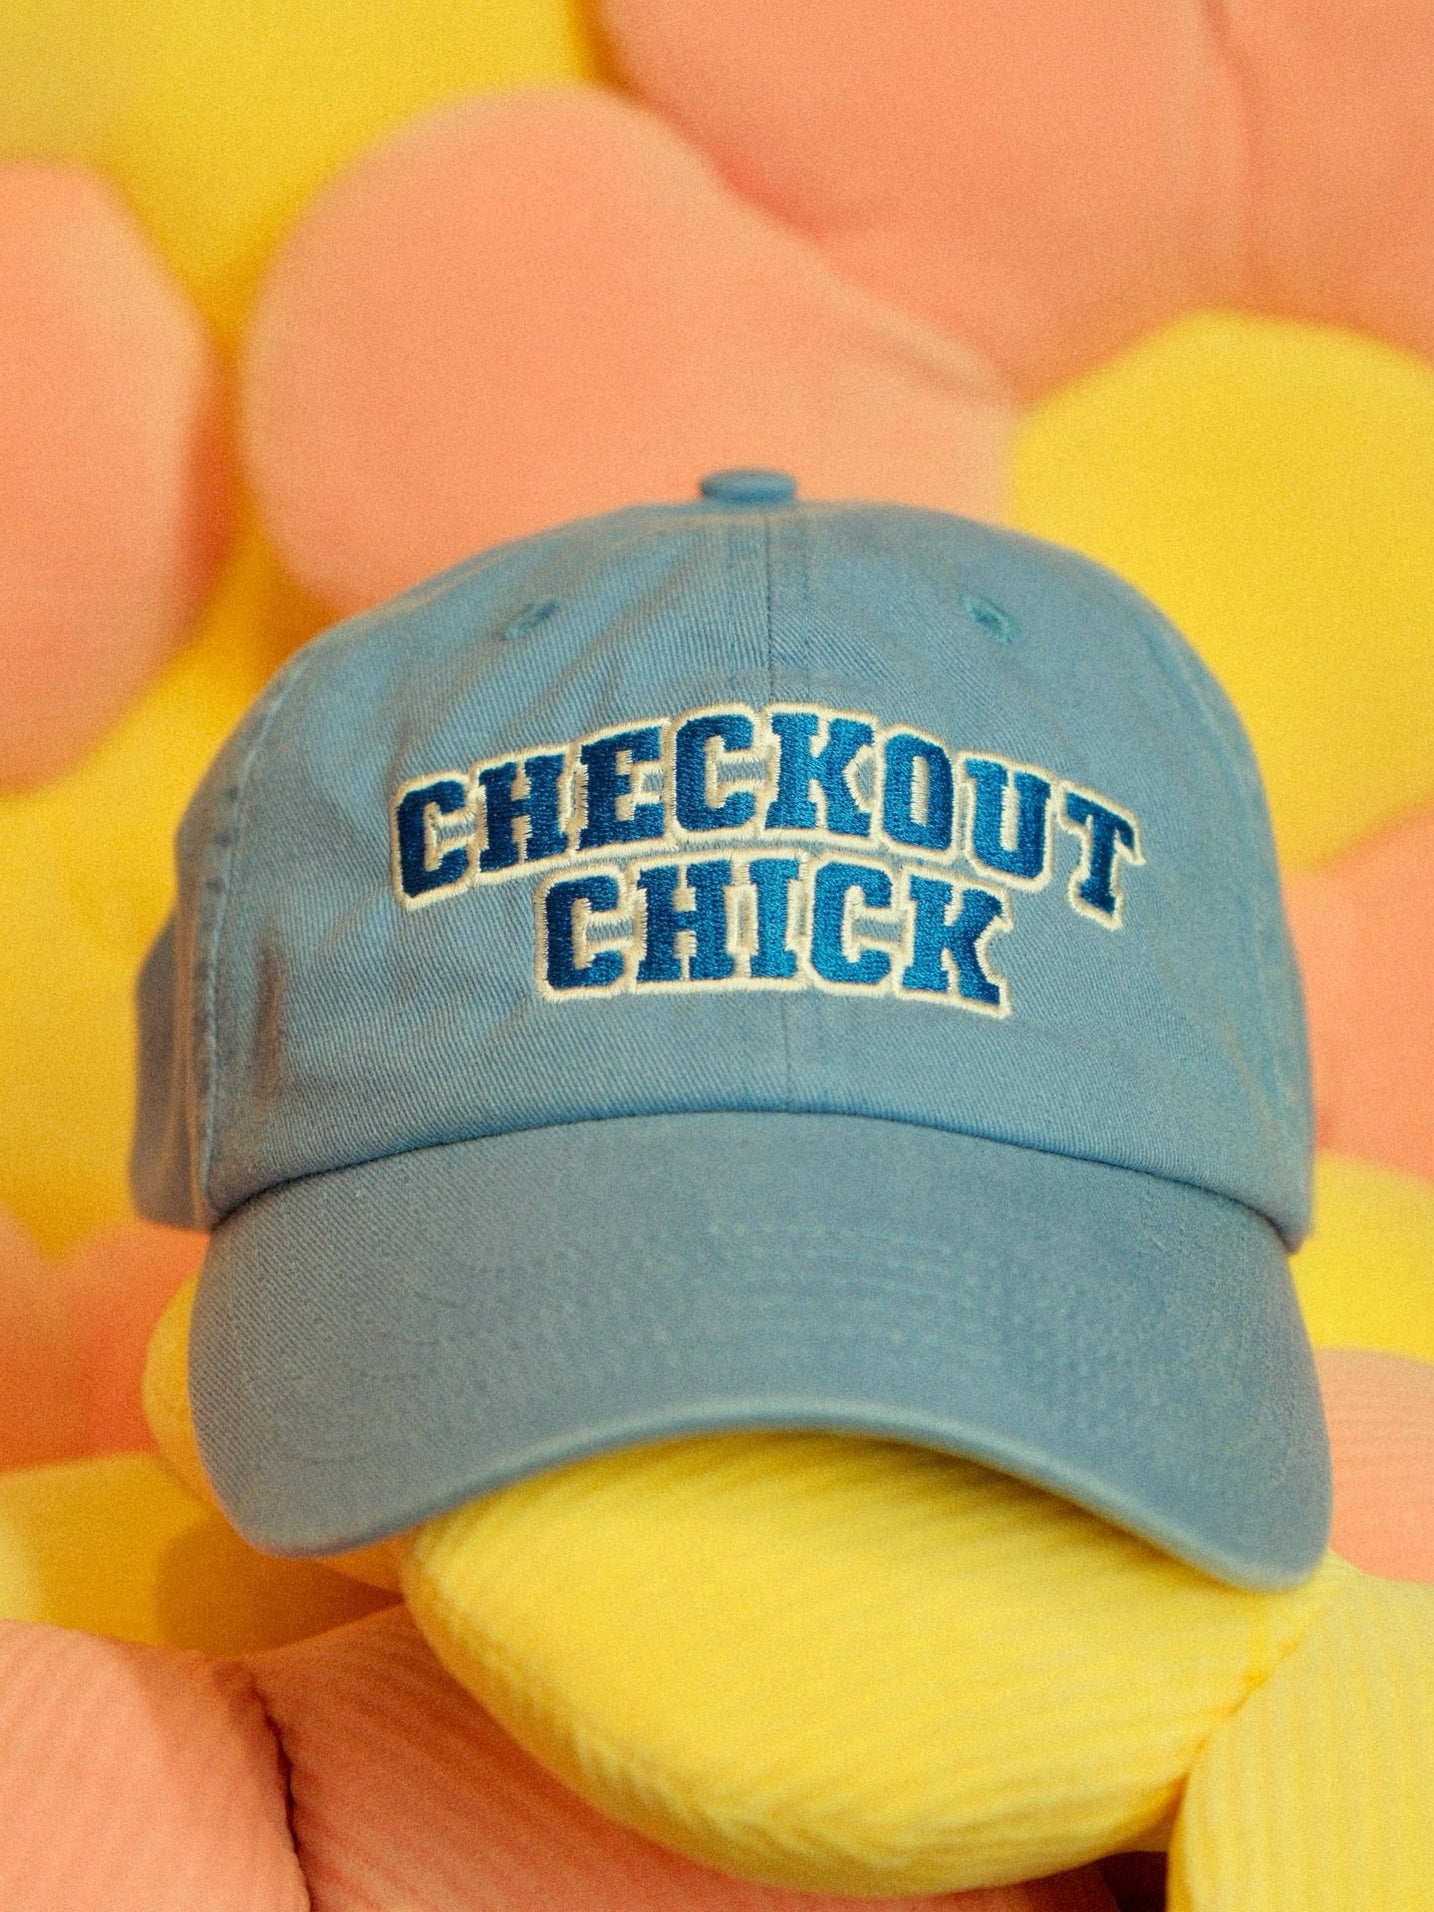
Embroidered caps are everywhere - on staff, sports teams, hospitality crews, tradies, gyms, clothing brands and people wearing merch simply because they actually like it.
And that's exactly what good branded headwear should achieve.
Unlike a T-shirt, however, a cap isn't a large, flat piece of fabric. You're working with curved surfaces, seams, structured panels and a relatively small decoration area. That means artwork that looks perfect on a screen doesn't always translate perfectly to embroidery.
If you're planning custom embroidered hats or caps, there are a few things worth understanding before sending your artwork to production.
From choosing the right cap to preparing your logo and deciding where it should sit, here's what you need to know.
Why Is Embroidery So Popular for Caps?
Embroidery and headwear are a natural combination.
Instead of printing ink onto the surface, embroidery uses thread to stitch the design directly into the fabric. This creates a textured, dimensional finish that works particularly well on caps, where logos are usually relatively compact.
It's also durable. Caps tend to be worn regularly, thrown into bags, taken outdoors and generally treated less carefully than some other pieces of branded apparel. A properly embroidered design is made to handle that kind of use.
For businesses and brands, embroidery also has the advantage of looking intentional rather than overly promotional.
A simple embroidered logo on a good-quality cap can easily become something people choose to wear outside work or events.
What Types of Caps Can Be Embroidered?
One of the first decisions isn't actually about embroidery. It's about the cap.
Different styles create completely different looks, even when the exact same logo is used.
Popular options include:
- Trucker caps
- Snapbacks
- Baseball caps
- Dad caps
- Five-panel caps
- Flat-peak caps
- Sports caps
- Workwear caps
- Bucket hats
- Beanies
Some styles have structured front panels that hold their shape, while others are softer and more relaxed.
A structured snapback with bold embroidery might suit a streetwear brand, for example, while a simple dad cap with subtle branding can create a more understated look.
The intended use matters too. A cap designed for hospitality staff has different requirements from headwear being sold as part of a merchandise collection.
How Does Cap Embroidery Work?
Before your logo can be embroidered, the artwork needs to be converted into an embroidery-ready file.
This process is called digitising.
Digitising doesn't simply convert an image into another file format. It tells the embroidery machine how the design should actually be stitched.
The digitised file determines things such as:
- Stitch type
- Stitch direction
- Stitch density
- Thread changes
- Underlay
- The sequence in which different parts of the design are embroidered
Good digitising is an important part of producing clean embroidery.
Two embroidery files created from the same logo can produce noticeably different results depending on how they have been prepared.
Does Every Logo Work for Cap Embroidery?
Not automatically.
One of the biggest mistakes when ordering embroidered caps is assuming that a logo can simply be reproduced exactly as it appears on a website or business card.
Embroidery has physical limitations.
Thread has thickness, fabric moves, and extremely small details can disappear or merge together once stitched.
Design elements that may require adjustment include:
- Very small text
- Extremely thin lines
- Tiny gaps
- Detailed illustrations
- Gradients
- Shadows
- Photographic elements
- Intricate textures
This doesn't necessarily mean you need to redesign your logo.
Often, the artwork simply needs an embroidery-friendly version that maintains the overall identity while removing details that won't reproduce well in thread.
How Small Can Embroidered Text Be?
This is one of the most common questions with cap embroidery, and there isn't one universal minimum size.
The result depends on the font, letter thickness, fabric, thread, embroidery method and overall design.
Simple, bold lettering generally reproduces more reliably at smaller sizes than thin or highly decorative fonts.
For example, a clean sans-serif brand name may translate beautifully, while a small handwritten tagline underneath the logo could lose definition.
If readability is important, it's usually better to simplify the artwork than force too much information into a small embroidery area.
Where Can You Put Embroidery on a Cap?
The front is the obvious choice, but it's certainly not the only one.
Different placements can create very different effects.
Front Embroidery
The front panel offers the most prominent branding area and is typically used for the main logo, business name or graphic.
It's the natural choice when you want the branding to be immediately visible.
Side Embroidery
Side embroidery is useful for secondary branding, small icons, dates, initials or additional details.
Brands can also combine a main front design with a smaller side element to make the cap feel more considered.
Back Embroidery
Depending on the cap construction, the back can be used for a small logo, website, short wordmark or other secondary branding.
It's a good option when you want the design to have details that reveal themselves from different angles.
Flat Embroidery vs 3D Puff Embroidery
Not all cap embroidery has to look the same.
Two of the most recognisable approaches are flat embroidery and 3D puff embroidery.
Flat Embroidery
Flat embroidery stitches the design relatively close to the fabric.
It's versatile and works well for logos, lettering and designs containing smaller details.
This is the style most people picture when they think of traditional embroidered workwear or branded caps.
3D Puff Embroidery
3D puff embroidery creates a raised effect, making parts of the design stand noticeably above the surface of the cap.
It's commonly seen on bold lettering and logos, particularly on structured caps and streetwear-style headwear.
The effect can be striking, but artwork needs to be suitable for it. Very fine details and complex elements aren't generally where puff embroidery performs best.
For some designs, combining flat and raised embroidery can create additional depth.
How Many Colours Can You Use?
Embroidery allows you to work with multiple thread colours, but more isn't necessarily better.
A simple one- or two-colour logo can sometimes have more visual impact than a complicated design using numerous shades.
The cap colour also plays an important role.
High contrast between the thread and fabric can make branding stand out, while tonal embroidery - such as black thread on a black cap - creates a much more subtle look.
For fashion and merchandise, tonal embroidery can be particularly effective when you want branding to feel understated.
Choosing the Right Cap Colour
The relationship between the cap colour and thread colour is worth considering before production.
Think beyond whether the colours simply "match" your brand.
Ask:
Will the logo have enough contrast?
Dark thread can disappear on a dark cap, while very light colours may behave differently depending on the background fabric.
Do you want the logo to stand out or blend in?
Neither approach is automatically better. A high-contrast logo creates immediate visibility, while tonal embroidery can create a more premium, subtle aesthetic.
Will people actually wear this colour?
If the caps are merchandise rather than uniforms, wearability matters.
Your exact brand colour doesn't always need to dominate the garment. Sometimes a neutral cap with carefully chosen embroidery produces something customers are more likely to wear regularly.
Embroidered Caps for Staff Uniforms
Caps can be a practical addition to uniforms, particularly for hospitality, trades, events, fitness businesses and teams working outdoors.
For uniforms, consistency and durability often matter more than creating an elaborate design.
A straightforward embroidered logo can provide clear branding while keeping the cap wearable and practical.
It's also worth thinking about how the caps coordinate with the rest of the uniform.
If staff already have heavily branded shirts or jackets, the cap may only need a small, simple logo rather than another large branding element.
Embroidered Caps for Merchandise
Merchandise is different.
When you're asking someone to buy and wear a branded cap voluntarily, the product has to work as a piece of clothing first.
That means considering:
- Cap shape and fit
- Fabric and construction
- Colour combinations
- Logo size
- Embroidery placement
- Thread colours
- Overall design
- How the cap fits within the rest of the collection
This is where smaller branding, unusual placements, tonal thread or a combination of front and side embroidery can make a significant difference.
Think about the cap as a retail product rather than simply somewhere to place your logo.
Common Mistakes to Avoid With Cap Embroidery
A few decisions can have a surprisingly large impact on the finished result.
Trying to include too much detail
Small embroidery areas don't always work well with complicated logos, tiny taglines and multiple design elements.
Making the logo too large
Bigger isn't automatically better. The proportions of the cap should determine the size of the embroidery.
Choosing the cap after designing the embroidery
The cap construction and decoration method should ideally be considered together.
Ignoring the seams
Caps aren't flat. Seams and panel construction can influence where and how artwork can be embroidered.
Using artwork that hasn't been prepared for embroidery
A logo designed for digital use may need adjustments before it becomes a good embroidery design.
What Should You Send to Your Embroiderer?
If possible, provide high-quality original artwork rather than screenshots or low-resolution images downloaded from social media.
Vector formats such as AI, EPS or PDF are particularly useful when available.
Don't worry if you don't already have an embroidery file. Your artwork will generally need to be digitised specifically for embroidery anyway.
It's also helpful to provide information about:
- Desired cap style
- Quantity
- Preferred colours
- Logo placement
- Approximate logo size
- Intended use
- Required deadline
The more context you provide, the easier it is to recommend an appropriate setup.
How to Get Better Results From Custom Cap Embroidery
The best embroidered cap isn't necessarily the one with the most complicated logo or the largest possible branding.
It's the one where the cap, artwork, placement, thread and embroidery technique work together.
A simple logo can look exceptional when it's appropriately sized and stitched onto the right cap. Conversely, even strong artwork can lose impact when too much detail is squeezed into a small area.
If you're creating merchandise, think about whether someone would genuinely choose to wear the cap.
If you're creating uniforms, consider comfort, practicality and how consistently the branding will reproduce across the order.
And if you're unsure whether your existing artwork will embroider well, it's worth checking before production rather than discovering the limitations after the caps have been made.
Ready to Create Your Embroidered Caps?
Whether you're ordering caps for your team, developing branded merchandise or creating headwear for an upcoming event, Halo Print Co can help you choose the right cap, embroidery style and artwork setup for the job.
From clean business logos and staff headwear to more considered merchandise designs, we'll help you turn your artwork into embroidery that works on the actual garment - not just on the screen.
Get in touch with Halo Print Co to discuss your cap embroidery project and request a quote.